Granny Square Market Tote Bag PROJECT
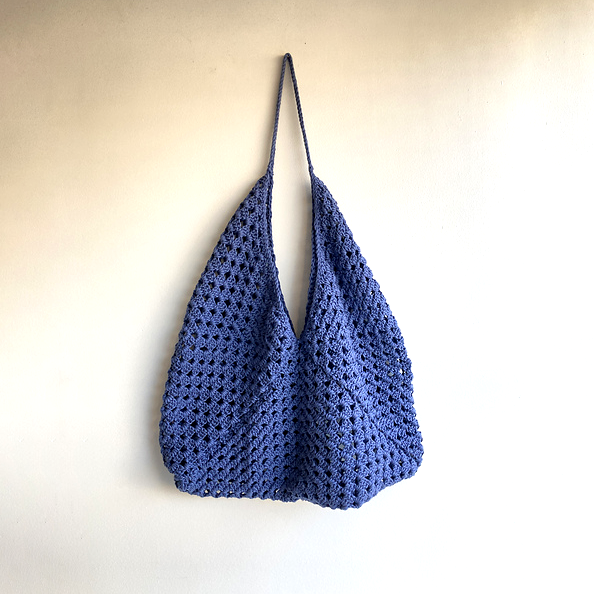
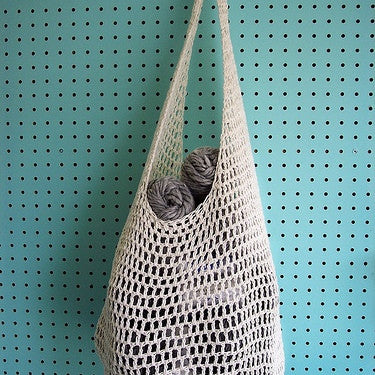
Granny Square Market Tote
I think I might be sliding into the granny square bandwagon … last spring I blogged a bit about grannies but I didn’t really get the itch to join the gook until the summer yarns started drifting in (it also didn’t hurt that I saw a lady at the art gallery wearing. groovy crochet granny cardigan and I saw how beautiful they can be).
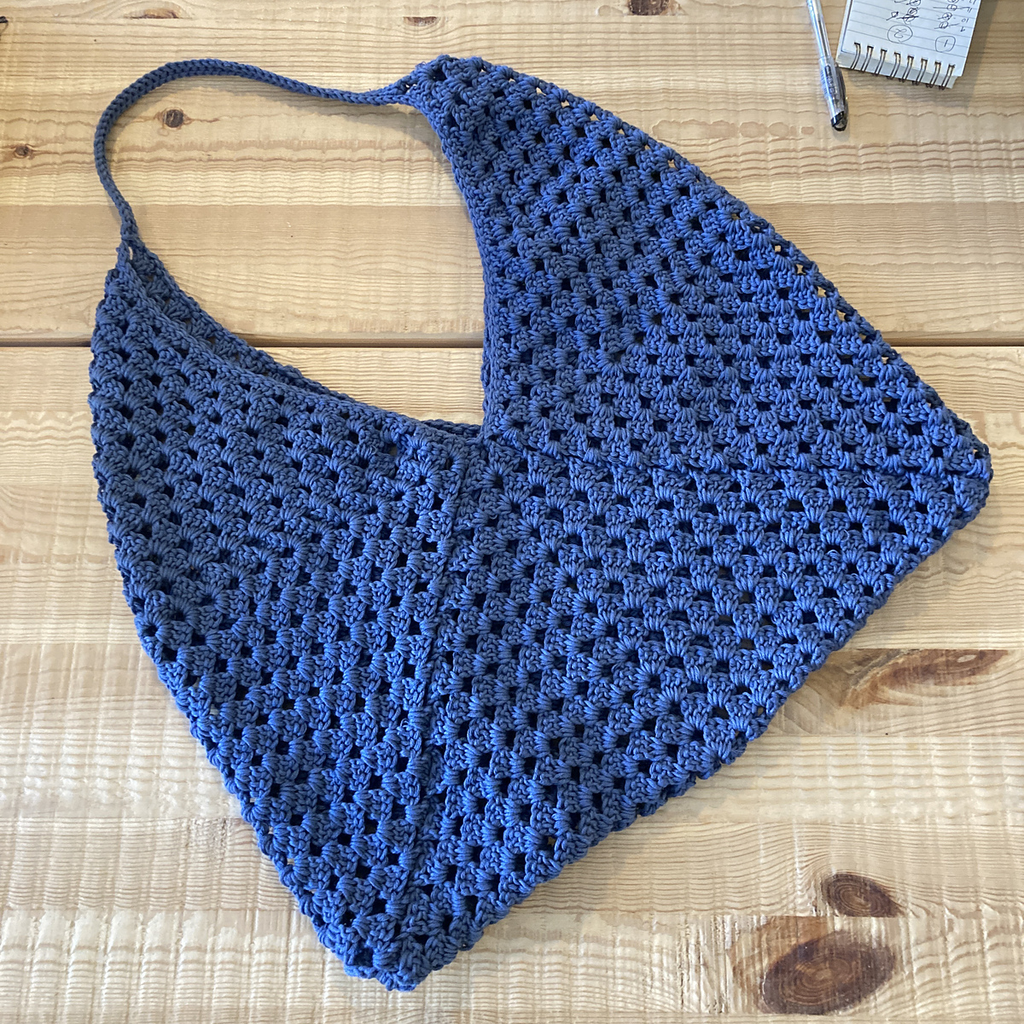
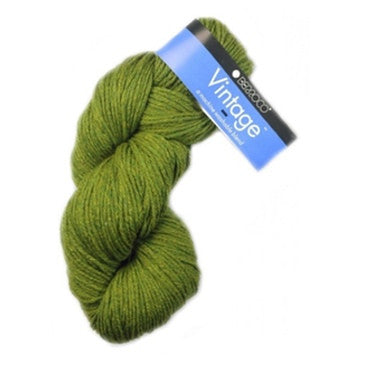
Anyway, I found the Granny Square Market Tote and thought it was a fun, cute simple project. The pattern is available for FREE with some support video tutorials, or if you want a more succinct printable version you can pay for that. It’s a simple construction, just 3 big granny squares that are joined together and folded up, so it’s very easy crocheting. I used 3 skeins of Berroco Modern Cotton and a 4.5mm/US7 crochet hook, so it was easy on materials too. I definitely recommend using a plant-based fibre for bags, they wear better. Berroco Modern Cotton is a blend of Cotton and Viscose (a cellulose based fibre made from plants … bamboo yarn is a cellulose fibre), which makes it soft, strong, and the viscose gives the yarn a smooth surface and slight sheen.
You can see notes on my modifications below (I didn’t do anything too intense to change the pattern, mostly I just added a strap and the instructions for that are below and in my notes on Ravelry.
Overall, I think it worked out really beautifully and I think the Trinity Tote will be next! Or maybe the Salena Sweater ….
Materials
- Berroco Modern Cotton: 3 skeins (shown in colour 1656 Napa Tree)
- 4.5mm crochet hook
- Tapestry/darning needle
- FREE Pattern
Modifications
- I did the JAYGO (join-as-you-go) with the wrong sides facing (as described in the instructions), but the seams looked messy that way (I thought I did it correctly according to the video, but I could be wrong), so instead of ripping it all back I turned the bag inside-out and finished it with the wrong side out. The JAYGO technique is fast and avoids seaming, but for a nice straight seam you could skip it and just make 3 squares and sew them together.
- I skipped the part in Square 3 round 13 where you join the tops of the two sides of the work together (I think it’s in the 6th line “(3Dc, Ch 1, JAYGO into Square 2 unworked Ch-3 space ….)” and just kept going around because I wanted to add a strap.
- The pattern instructions don’t include a strap, despite the fact that there’s a strap in the picture. I added a strap, the instructions for how I did it are below.
Strap
1. Make the strap chain: after finishing joining the squares together, i rejoined the yarn at the chain space of one of the top-pointy parts (where you would want to
attach a strap, and chained 62 sts (or about 15″ of chain).
2. Reinforce the strap chain: making sure not to twist the stitches, make 1 slip stitch in the chain space on the opposite pointy part, then 1 more slip st into the chain space to anchor things securely.
3. Work back across the strap chain: make 1 slip stitch in each chain, ending with a slip stitch in the chain space where the strap is joined.
4. Work around one side of the mouth of the bag: make 1 slip stitch in each DC stitch down 1 side of bag opening (skipping the ch1 spaces between the DC clusters), until you reach the other side of the handle chain, then make 1 slip stitch in chain space to anchor it.
5. Work back across strap chain: make 1 slip st in the outer leg of each stitch. At the bottom you can either fasten off and reattach on the other side of the strap, or slip stitch across the back (inside) of the base of the strap where it meets the chain space of the granny square.
6. Work back OPPOSITE side of strap: make 1 slip st in the outer leg of each stitch. slip stitch in chain space at bottom to anchor it.
7. Work around other side of the mouth of the bag: make 1 slip stitch in each DC stitch down 1 side of bag opening (skipping the ch1 spaces between the DC clusters), until you reach the other side of the handle chain, then make 1 slip stitch in chain space to anchor it.
8. Fasten off. Weave in ends.
Share this item: